
Manage employees and access
Add team members, assign access profiles and brands, resend welcomes, and remove access safely.
Guide typeStep by step
Estimated time2 minutes
Best forTeam & Security
Employee records identify your team. Roles & Access controls what each WordPress account can view or change, which brands it can access, and which jobs appear in its portal.
Add a team member
- Open Employees and select Add Employee.
- Enter the employee’s real name, unique work email, phone number, job title, and active status.
- Create or link the employee’s WordPress user account when prompted. Every employee should have an individual account.
- Choose the smallest access role that covers the employee’s actual work.
- Assign the correct brands and operational job scope when those options are enabled.
- Save the employee and send the welcome message.
Verify permissions
- Open Roles & Access.
- Select the employee and review the assigned role, brand scope, job scope, permission grants, and denials.
- Assign a fictional test booking to the employee.
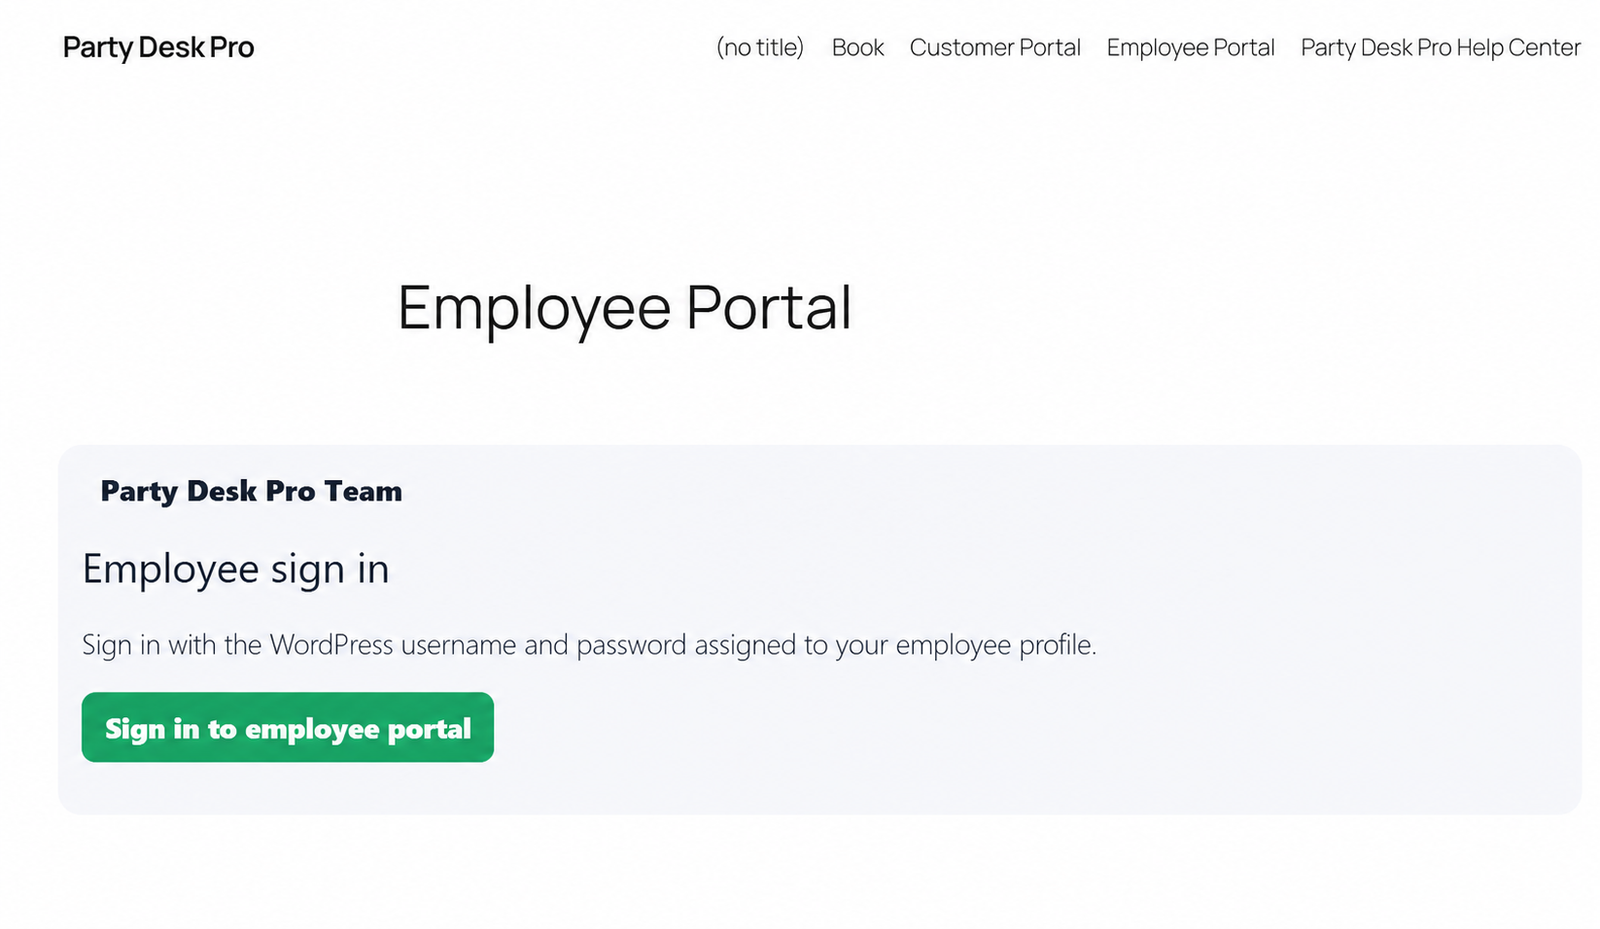
- Sign into the Employee Portal using the employee account.
- Confirm the assigned job is visible and unrelated customer, financial, integration, and administrative areas are hidden.
When someone leaves
- Reassign every upcoming booking owned by the employee.
- Set the employee record to inactive.
- Disable or remove the linked WordPress account according to your retention policy.
- Review credentials, exports, and integrations the person could access and rotate secrets when needed.
- Confirm the former employee can no longer sign in.
Least privilege: dispatch staff usually do not need financial settings, integration secrets, or full customer exports.