
Set up the customer portal
Give customers secure access to event details, balances, documents, and status updates.
Guide typeStep by step
Estimated time2 minutes
Best forCustomer Experience
The customer portal gives each customer secure access to their own event details, balance, invoices, contracts, and approved media without exposing WordPress administration.
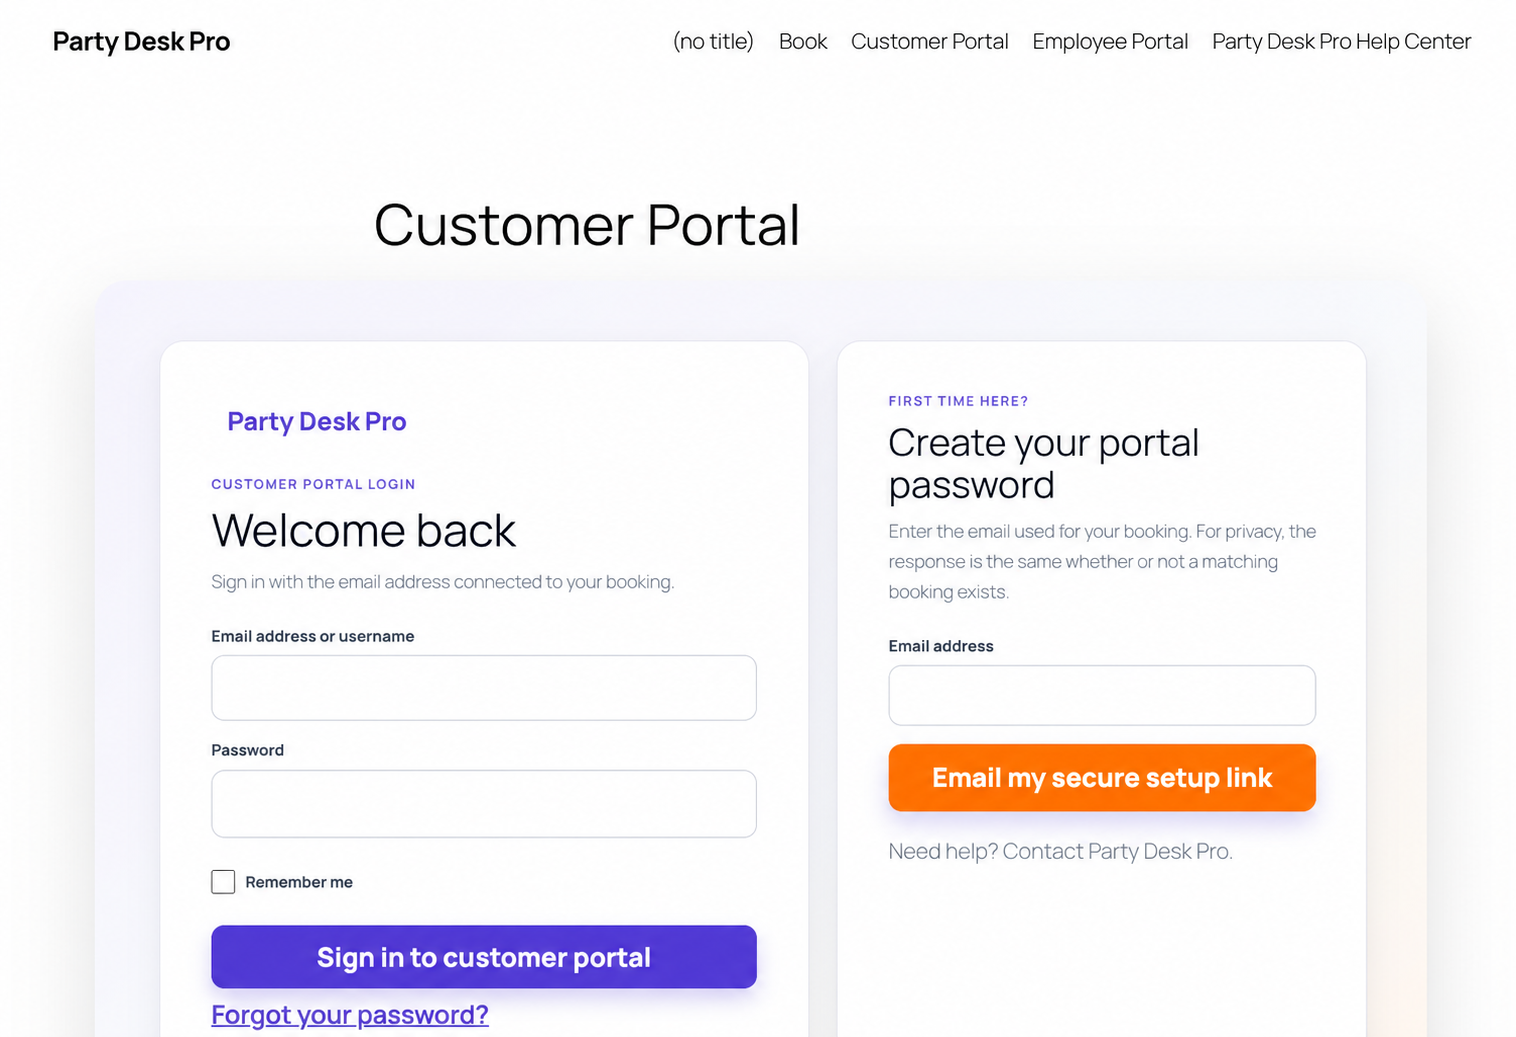
Publish the portal
- Go to Pages → Add New and name the page Customer Portal.
- Add a Shortcode block containing
[bbfcrm_customer_portal]. - Publish the page and copy its public URL.
- Add the page to your website navigation only if customers should find the sign-in screen directly.
- Open Customer Portal Designer and set the logo, colors, cards, buttons, and customer-facing wording.
Set up first-time customer access
- Create a test booking using an email address you control.
- Open the Customer Portal page while signed out.
- Enter the booking email under Create your portal password.
- Open the secure setup email and create the password.
- Return to the portal and sign in with the email and new password.
Test access
- Confirm the portal shows the correct customer name and event.
- Compare the date, time, address, package, add-ons, total, paid amount, and balance with the admin booking.
- Open any invoice, contract, payment link, or approved media item.
- Sign out and confirm the event information is no longer visible.
- Use a second test customer and confirm the accounts cannot see one another’s records.
Security check: never publish a raw WordPress admin URL as a portal and never test access by exposing a real customer’s information.