Design and test the employee portal
Publish the employee portal, choose useful job information, and verify permissions with a test employee.
Guide typeStep by step
Estimated time2 minutes
Best forTeam & Security
The employee portal gives team members a focused view of assigned work without providing broad WordPress administration access.
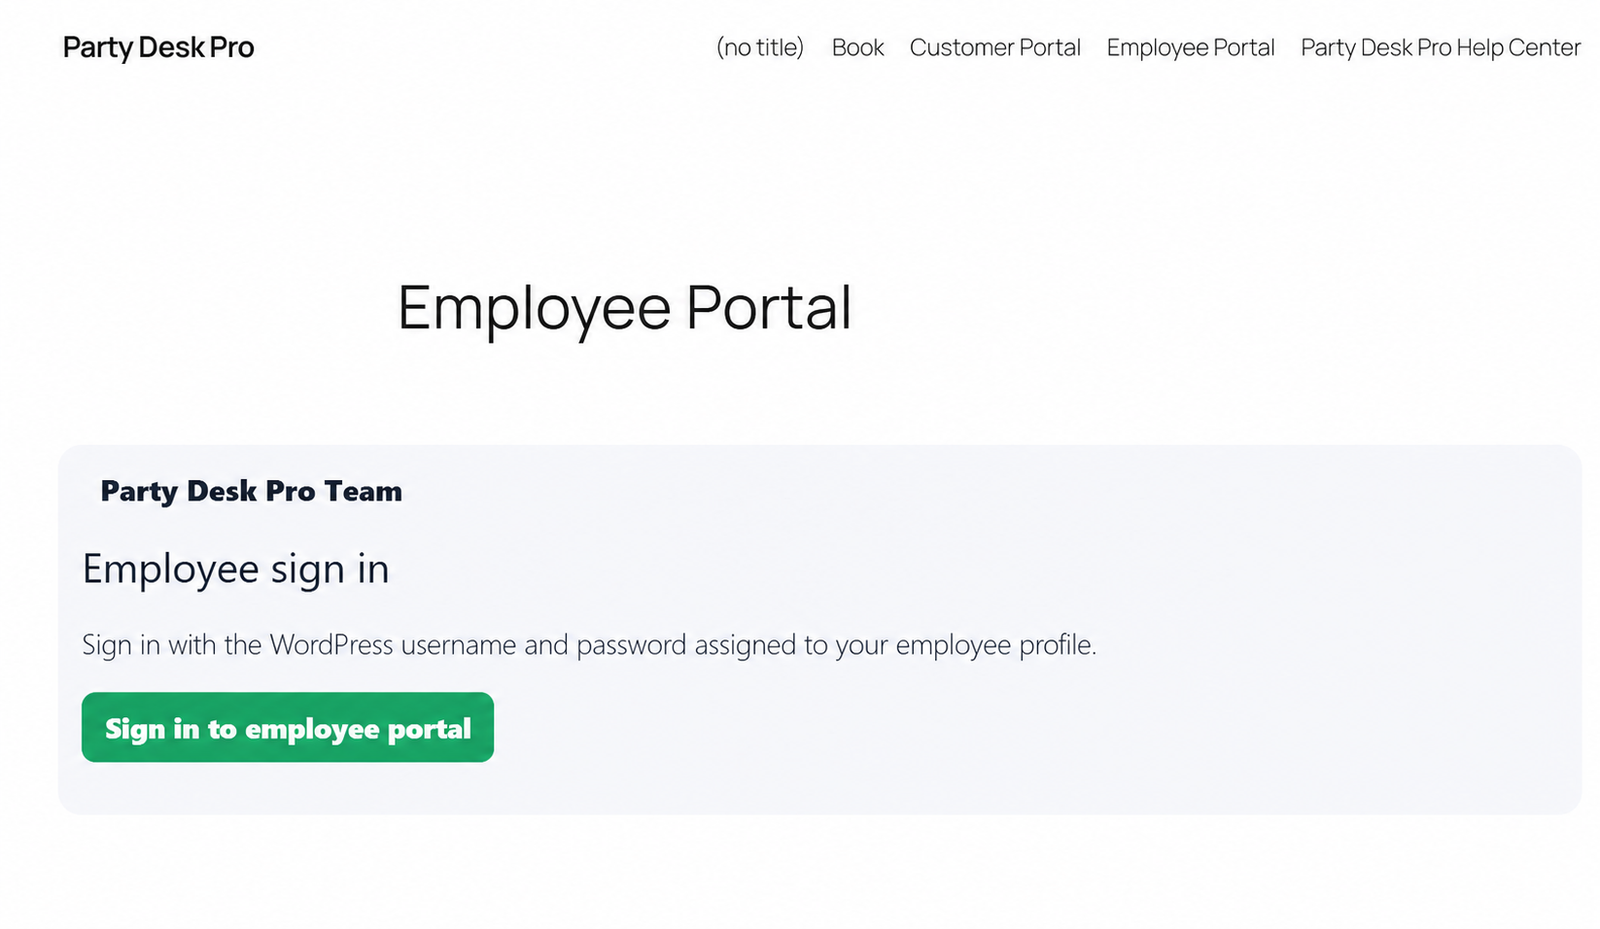
Publish the portal page
- Create a WordPress page named Employee Portal.
- Add a Shortcode block containing
[bbfcrm_employee_portal]. - Publish the page and copy its URL.
- Open the page while signed out and confirm the employee sign-in experience appears.
Configure the portal design
- Open Employee Portal Designer.
- Add the approved business logo, heading, instructions, colors, and support contact.
- Choose the job information employees need in the field while avoiding unnecessary financial or customer data.
- Save and preview at desktop and phone widths.
Test access with a demonstration employee
- Create a test employee with the smallest appropriate role.
- Assign one fictional booking to that employee.
- Sign in through the portal using the test account.
- Confirm the assigned event is visible and unrelated bookings are hidden.
- Test any permitted status, note, route, or media action.
- Sign out and confirm protected job details are no longer visible.
Do not share employee accounts. Individual accounts preserve accountability and make offboarding safer.